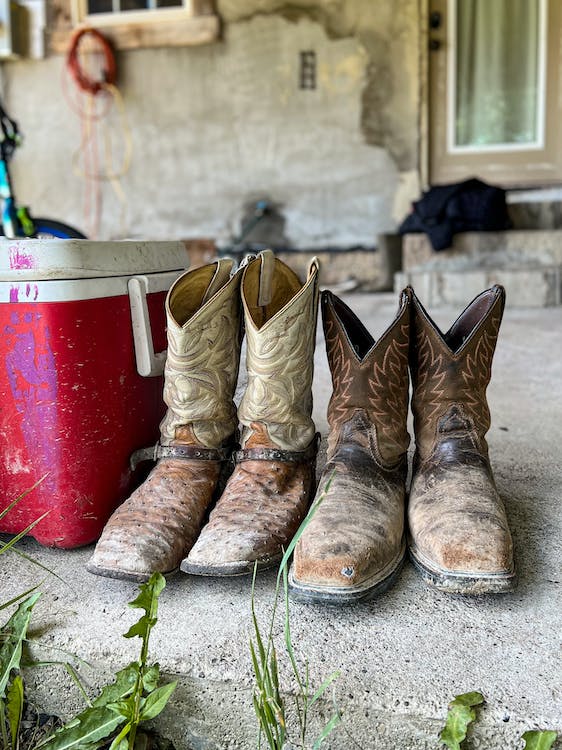
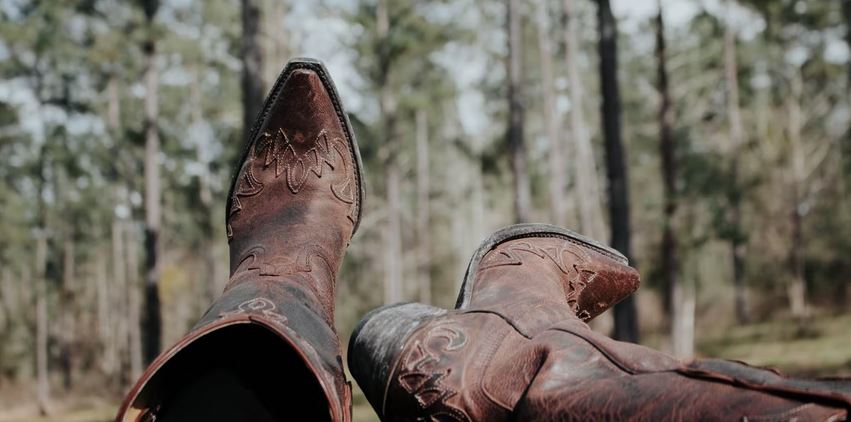
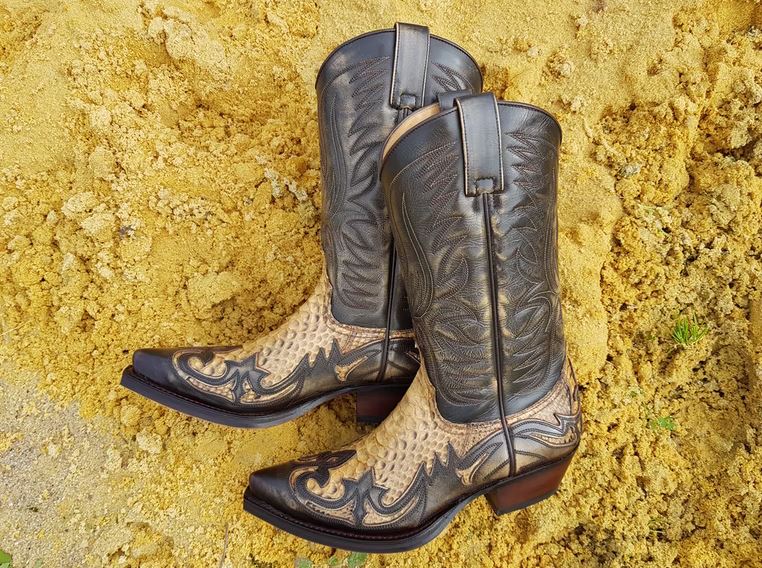
Cowboy boots are among the iconic symbols of the Western United States that bring pride and are a part of the people’s lifestyle and strong tradition. But have you ever wondered how cowboy boots are made? Are there different materials used? What production stages are involved in creating the best cowboy boots? Let’s cut through the chase! Continue reading below and discover the process of making cowboy boots!
Raw Materials Used
Calfskin leather is the widely preferred and used material for making cowboy boots. It’s tighter, finer, easier to work, more durable, and more comfortable as well. Truth to be told, much of the calfskins utilized didn’t come from the United States as only a few Americans eat beef from younger cattle. Rather, the skins were imported from Europe, given that calves in the region are also less prone to scarring from barbed wire and brands.
Things changed in the 1990s when the globe faced a leather shortage due to the changing eating habits. With the demand for beef decreasing, the need for raising cattle also plunged, leading to scarcity. While calfskin remains are the most common raw material, kangaroo skin, horsehide, ostrich leather, crocodile skin, elephant skin, and pigskin are now used for making cowboy boots,
The Process of Making Cowboy Boots
1. Cutting the leather.
After selecting leather, it all starts with creating the shape for the top of the boots. The bootmaker first places a stencil over the chosen animal skin’s surface. Then, use chalk for marking it out. Once finished, he cuts the part out either by hand or by using a hydraulic cutter or cookie cutter.
The boots’ top comprises three parts: one that serves as the covering of the top of the foot (vamp), one that surrounds the bottom of the shin (uppers), and one that fits the back of the heel (counter). The lining, the integral part of the boots that cover the inside seams and extend the shoes’ entire lifespan, is also cut out during this process.
2. Adding the decorations and extra colors.
Whether it’s a flower, wings, leaf, fire, or other more elaborate patterns, all kinds of stitched decorations are done prior to the assembly of all the pieces. Skillful and creative bootmakers use a stencil where they sketch the design and outline with small holes.
Afterward, they apply a specialized marking agent. The sewing machine operator will then follow the trace to create the design. Bigger factories no longer need to mark the leather as they use computerized sewing machines that follow pre-programmed designs. Meanwhile, dying the leather is also done at this phase, should there be any need to add additional colors.
3. Bringing the top boot’s pieces together.
Once the decorations and color have been added, it’s now time to assemble the front and back half of the boots. First, the vamp is sewn to the front upper, while the counter is stitched to the back upper. All resulting excess leather around the stitching is snipped.
The welt, a long leather strip, is affixed behind the counter and will be utilized later for fastening the cowboy boot’s top and the sole. Next, the two halves are adjoined together using glue and sewn thereafter. Like in a T-shirt, all the seams are done inside out.
As leather is sturdy and difficult to work on, the top of the boot must be first immersed in water after creating the seams. This process will make it sufficiently supple for the bootmaker to turn it right outside. After that, the top part of the boot is now finished.
4. Working on the insole.
Now onto the bottom of the cowboy boot, the first step the bootmaker takes is affixing the insole to the counter and vamp. The insole is the fixed part of the shoe when you can usually see the maker’s or brand’s imprinted name.
An integral piece in this phase is the last or the mechanical model shaped like a human foot. It can be made of plastic or hardwood and is left inside the cowboy boot until the end of the production process. Workshops or factories typically have hundreds to thousands of lasts.
In this stage, the bootmaker pins the insole to the last, and then nails the vamp and counter on top of the insole. It starts in front, going to the side, and until it reaches the back. A firm leather piece is placed at the vamp’s front to strengthen the boot. Afterward, the welt is then stitched onto the vamp and the insole. By the end of this process, the heel and sole will be the only missing parts to complete the boots.
5. Building the sole.
With the welt now holding the necessary pieces together, the nails are removed but the last is still left inside the cowboy boot. The bootmaker attaches a metal shank to the insole, fortifying a high arch which a piece of leather takes a hold of. Next, the sole is adjusted to match the insole. It’s then adjoined to the welt. The bootmaker nails the heel using lemon wood pegs or metal nails and sands the heel and sole afterward. After this stage, the cowboy boots overall construction is basically complete.
6. Finishing the cowboy boots.
The last step in the bootmaking process is refining its appearance. It involves removing the last, adjusting the shape of the boots, trimming the seams, cutting any stray threads, applying the final dyes and prints, and waxing, varnishing, and polishing. Next, all boots are inspected for their quality, with the standards varying between shops, factories, and brands. At last, the customers are now ready to enjoy their beautiful Western cowboy boots!
Final Words
Like the history of cowboy boots, the processes involved in making these iconic footwear are intricate yet all weaving to a stunning product. What’s great is that cowboy boots are no longer worn only by cattle herders, ranch hands, and rodeos. It is now an important fashion item used by rock stars, actors, fashion models, business, and even politicians, proving that they are meant to stay in a time where fewer people are working in the saddle.


