For those suffering from excessive hair loss, scalp micropigmentation is one of the effective ways to regain self-confidence. The treatments help in creating an illusion of hair follicles, covering all the bald spots and hairline. Not to mention, it’ll give you a classic buzz cut.
And the best part?
It does not require any special care or maintenance. There is only one thing that you need to take care of – shaving your head.
Yes, it’s that simple! You only need to shave your head, probably every 2 or 3 weeks, to maintain that buzzed look.
However, going to your barber every time you need a trim is kind of a hassle. So, how about trying it on your own?
Don’t worry if you haven’t done it before. That’s what we are here for! Keep on reading to learn steps to shave after micropigmentation.
Step 1: Grab A Trimmer And Clean It
First of all, you need to get your trimmer or buzzer and ensure that it is clean. If not, then you should dust off any hair particle that might be stuck in there. In case your trimmer is waterproof, you can also use water to clean it properly.
Note: Your clinic might suggest a specific trimmer for use after your scalp micropigmentation treatment. In that case, it would be better to go by their word.
Step 2: Angle The Trimmer
After cleaning the trimmer, you need to understand your hairline and set the angle of your trimmer accordingly. This way, the trimmer will easily glide against your hair, ensuring a safe and better trim.
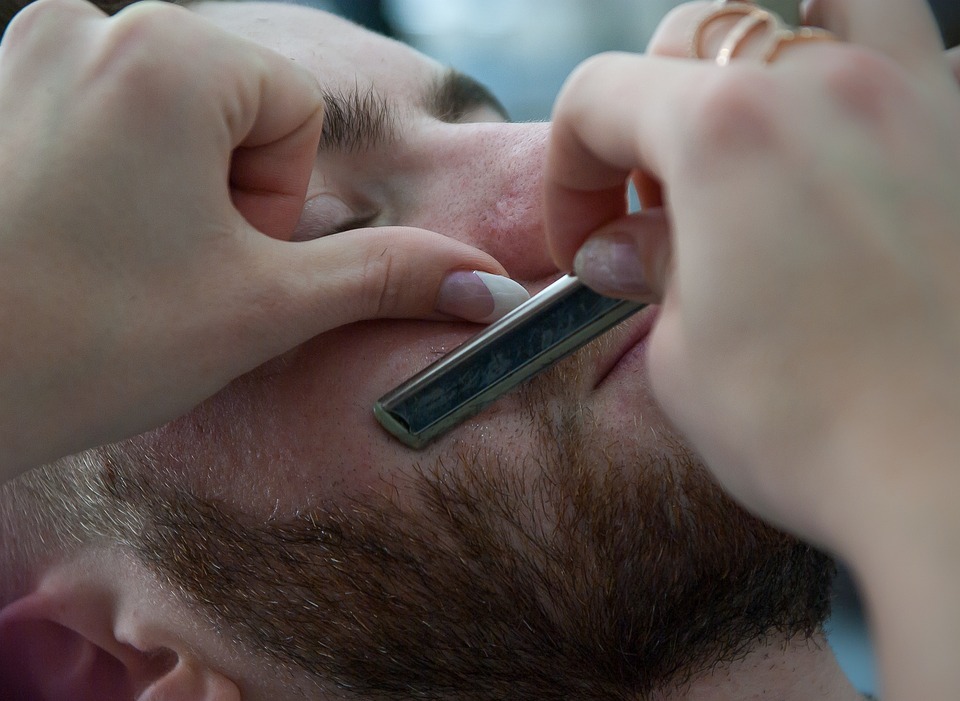
Step 3: Stretch The Skin And Glide
While trimming your hair, you need to stretch the skin. It will give you a clean and proper area to work with. Nonetheless, do not apply a lot of pressure during the shaving process. Let the clipper do its job. Otherwise, you might end up hurting yourself. So, be careful!
Step 4: Go Against The Direction Of Your Hair Growth
Many people complain about leaving a section or not getting a clean look after trimming. Well, it might be because they didn’t follow the right technique. You see while trimming, you need to go against the direction of hair growth. It’ll help remove excess hair, thus ensuring you get a symmetrical buzz.
Step 5: Make Sure You Go Over SMP
Even if you don’t have a lot of hair where you get SMP treatment, there could be peachy fuzz in that particular portion. So, make sure you go over that particular area as well. Otherwise, you might not get the look you desire.
Bonus: Listen To The Buzzer
Generally, a buzzer will make a loud noise while removing un-clipped hair. So, while shaving, paying attention to this noise will help you get a better cut. Also, it is recommended to go all over again with the trimmer after shaving to make sure there is no extra hair.
Wrapping it up!
This step-by-step guide will help you get that clean buzzed look in the comfort of your home. You can do this in the morning, it’ll take only about 5 minutes, and you’ll be all done. Isn’t it great?